


Written by: Professor Geek (The Geek Educator)
Edited by: Greg Kowalczyk, CEO & Co-Founder, TapeGeeks Inc.
KT Tape Application Chart: Complete Guide to Kinesiology Tape for Every Body Part
Quick Answer
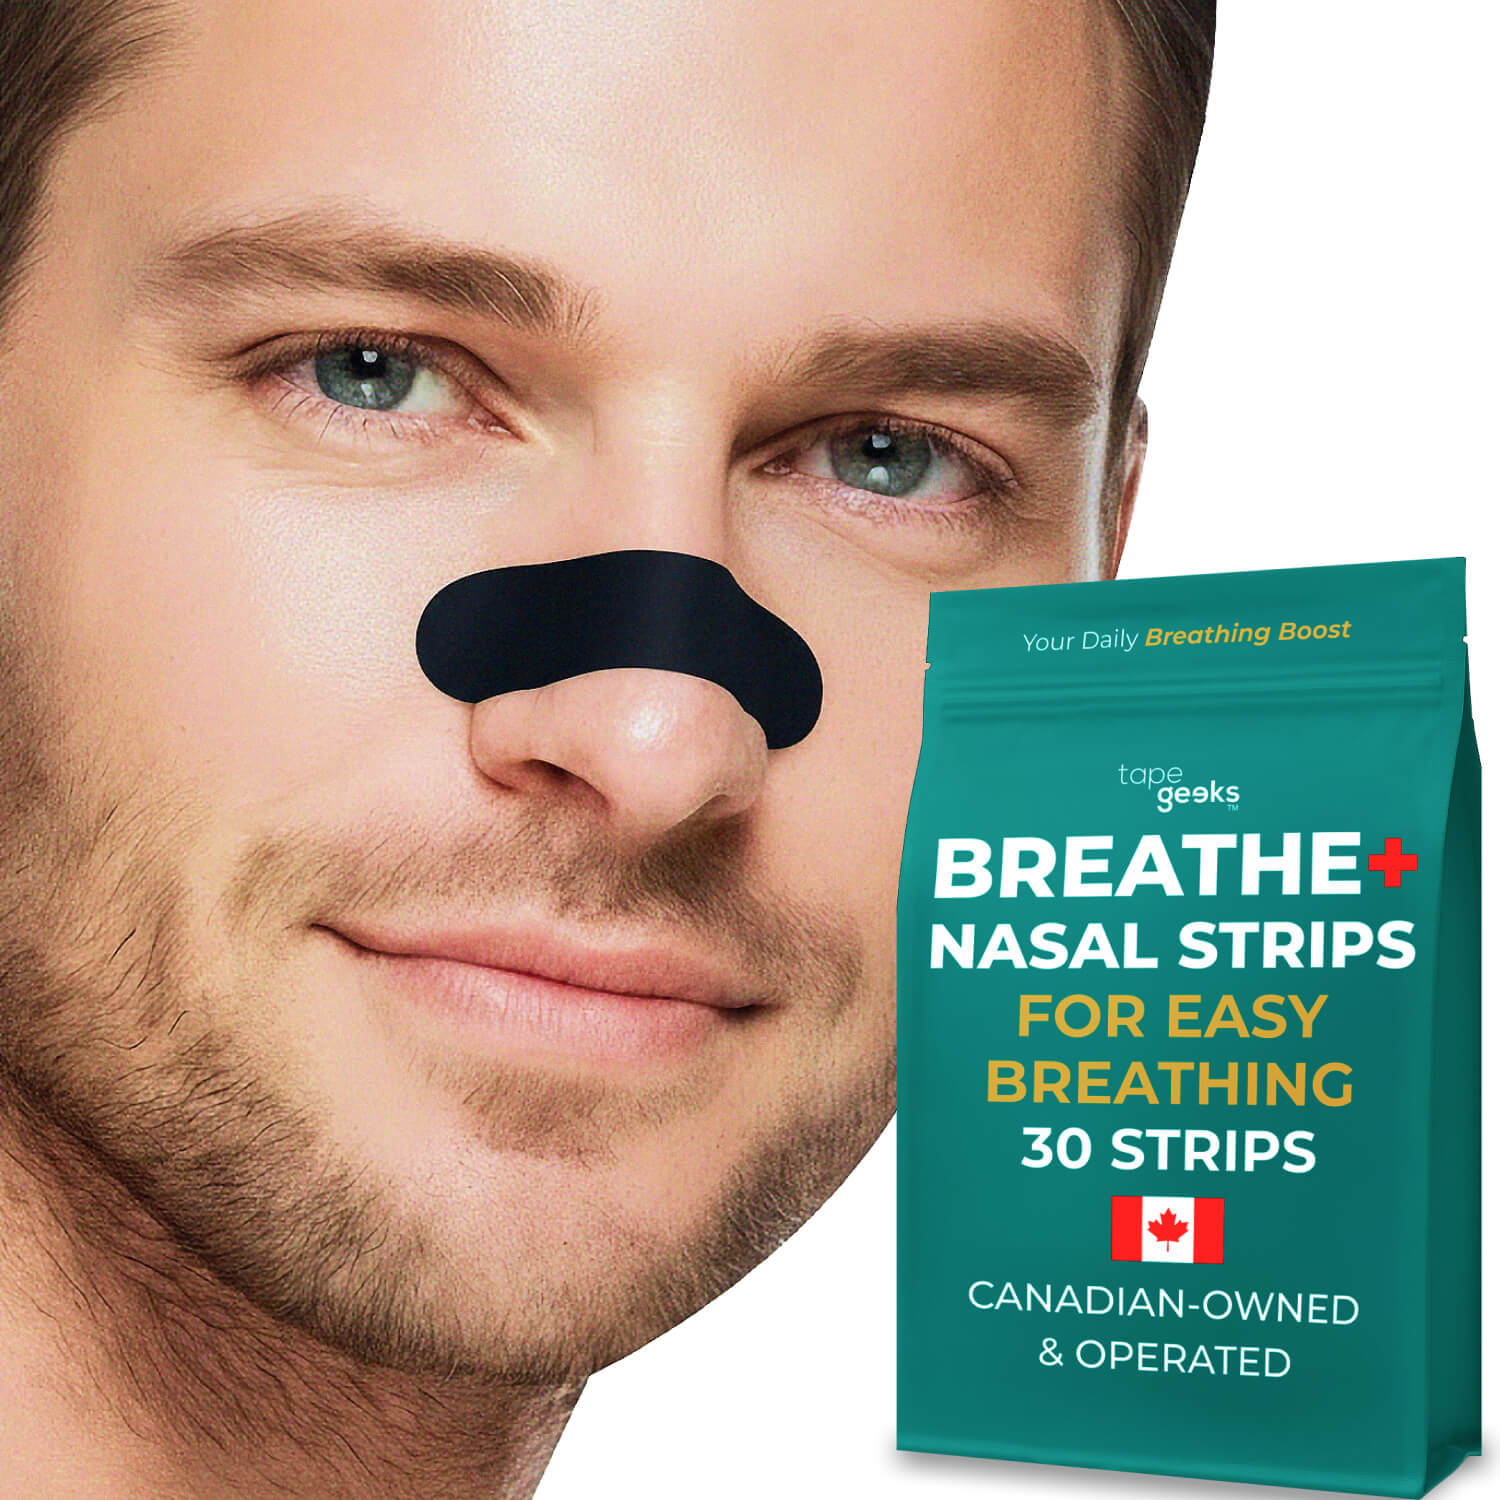
This KT tape application chart covers taping techniques for 10 common body areas: knee (patella, IT band, runner's knee), shoulder (rotator cuff, AC joint), ankle, shin splints, plantar fasciitis, lower back, wrist, elbow, hamstring, and calf. Each entry includes anchor points, tension level, and direction of pull. Use 25–40% tension for most applications; zero tension for lymphatic or postural taping.
KT tape works when the application is right. The same condition taped two different ways produces completely different results — one that helps, one that does nothing. This reference chart is built around the anatomical principles behind each application so you understand what you're doing, not just where to stick the tape.
Every entry includes: what it targets, anchor placement, tape direction, tension level, and common mistakes.
How to Read This Application Chart
| Symbol / Term | What It Means |
|---|---|
| Anchor | Start point — applied with ZERO tension; this is where the tape is secured without stretch |
| Active end | End point — also applied with zero tension to avoid skin irritation at the edges |
| Tension: Light | 15–25% stretch — for lymphatic drainage, posture cues, swelling reduction |
| Tension: Moderate | 25–40% stretch — standard for muscle support and joint stabilization |
| Tension: Strong | 50–75% stretch — for structural support (patella tracking, ligament reinforcement) |
| Fan strip | Tape cut lengthwise (4–5 tails) for lymphatic/swelling applications over joints |
| Y-strip | Tape cut to create two tails — wraps around muscle bellies |
| I-strip | Single uncut strip — most common for directional muscle taping |
💡 Pro Tip: Always start with clean, dry, hair-free skin. Apply tape at least 30 minutes before activity. Rub the tape firmly after application to activate the heat-sensitive adhesive — warm skin makes it stick better.
Knee KT Tape Applications
Runner's Knee (Patellofemoral Pain Syndrome)
| Step | Placement | Tension |
|---|---|---|
| 1. Anchor | Mid-thigh (4cm above kneecap), on the inner quad | Zero |
| 2. Cross tape over kneecap | Diagonally across the kneecap toward the outer shin | Moderate (25–35%) |
| 3. Active end | Below the kneecap on the tibial tuberosity | Zero |
| Optional 2nd strip | From outer thigh, crossing over the kneecap medially | Moderate |
Goal: reduce lateral tracking of the patella and offload pressure on the patellar tendon. The tape creates a medial pull on the kneecap during movement.
IT Band Syndrome (Lateral Knee Pain)
| Step | Placement | Tension |
|---|---|---|
| 1. Anchor | Outer hip (greater trochanter area) | Zero |
| 2. Long strip down the IT band | Down the outer thigh to just below the knee joint | Light (15–20%) |
| 3. Active end | Outer shin below the knee | Zero |
Goal: reduce tension along the iliotibial band and decrease friction where it crosses the lateral femoral condyle. Use light tension — heavy tension here causes irritation, not relief.
Patellar Tendon (Jumper's Knee)
| Step | Placement | Tension |
|---|---|---|
| 1. Anchor | Just below the kneecap (tibial tuberosity) | Zero |
| 2. Strip upward | Over and above the kneecap onto the quad | Moderate (30–40%) |
| 3. Active end | Mid-thigh (on quad, not over knee) | Zero |
Goal: offload tension on the patellar tendon and support the tendon-bone junction.
Ankle KT Tape Applications
Lateral Ankle Sprain (Inversion Sprain)
| Step | Placement | Tension |
|---|---|---|
| 1. Anchor | Outer lower leg (10cm above ankle) | Zero |
| 2. Pull under the heel | Under the heel pad and up the inner ankle | Strong (50–60%) |
| 3. Active end | Inner lower leg (matching height to anchor) | Zero |
| 4. Stirrup (optional) | From inner lower leg, under heel, up outer lower leg | Moderate |
Goal: support the lateral ligaments (anterior talofibular and calcaneofibular) and limit inversion movement. The under-heel pull is the key mechanical element.
Achilles Tendon Support
| Step | Placement | Tension |
|---|---|---|
| 1. Anchor | Heel pad / posterior calcaneus | Zero |
| 2. Y-strip up the calf | Two tails splitting around the gastrocnemius | Light (15–25%) |
| 3. Active end | Upper calf, below the knee | Zero |
Goal: reduce loading on the Achilles tendon and provide proprioceptive feedback during push-off.
Shoulder KT Tape Applications
Rotator Cuff Support
| Step | Placement | Tension |
|---|---|---|
| 1. Anchor | Outer upper arm (deltoid insertion) | Zero |
| 2. Strip over shoulder | Across the AC joint and down the back of the shoulder | Moderate (25–35%) |
| 3. Active end | Upper back (between shoulder blades) | Zero |
| 4. Second strip | From front of shoulder across the deltoid to upper arm | Light (15–20%) |
Goal: support the supraspinatus and reduce superior humeral head migration during arm elevation.
Shoulder Instability / AC Joint
| Step | Placement | Tension |
|---|---|---|
| 1. Anchor | Front of shoulder (clavicular head of pectoral) | Zero |
| 2. Strip over AC joint | Directly over the AC joint and onto the upper trapezius | Strong (50%) |
| 3. Active end | Upper trapezius / neck base | Zero |
Goal: support the acromioclavicular joint and reduce upward clavicle movement. Strong tension here is appropriate because you're supporting a joint, not a muscle belly.
Shin Splints (Medial Tibial Stress Syndrome)
| Step | Placement | Tension |
|---|---|---|
| 1. Anchor | Top of foot / lower shin | Zero |
| 2. Long strip up the inner shin | Following the posteromedial border of the tibia | Light (20–25%) |
| 3. Active end | Upper inner shin (below the knee joint line) | Zero |
| Optional 2nd strip | Parallel to the first, slightly offset | Light |
Goal: reduce traction forces on the periosteum of the tibia from tibialis posterior and soleus. Light tension is key — too much tension increases discomfort rather than reducing it.
Plantar Fasciitis
| Step | Placement | Tension |
|---|---|---|
| 1. Anchor | Base of toes (metatarsal heads) | Zero |
| 2. Strip along the plantar fascia | Along the arch, under the heel | Moderate (35–45%) |
| 3. Active end | Back of heel (calcaneus) | Zero |
| 4. Cross strips (optional) | Two short strips across the arch perpendicular to the main strip | Light |
Goal: support the plantar fascia and reduce loading during toe-off phase of gait. Apply with the foot in slight dorsiflexion (toes slightly pulled back toward shin).
Lower Back KT Tape Applications
| Step | Placement | Tension |
|---|---|---|
| 1. Anchor — left strip | Left side of lumbar spine (L5 level, just above sacrum) | Zero |
| 2. Strip up the left erector | Parallel to spine, alongside the erector spinae muscle | Light (15–20%) |
| 3. Active end | Middle back (T8–T10 level) | Zero |
| 4. Repeat for right side | Mirror the left strip | Light |
| 5. Horizontal strip (optional) | Across the L4–L5 level perpendicularly over both vertical strips | Moderate |
Goal: reduce fatigue in the erector spinae, improve proprioceptive feedback for posture, and provide mild support during prolonged sitting or lifting.
For detailed lower back taping instructions, see our guide on how to tape different areas of the body.
Wrist and Elbow Applications
Wrist Support (Sprains, Instability)
| Step | Placement | Tension |
|---|---|---|
| 1. Anchor | Back of hand (metacarpal area) | Zero |
| 2. Strip up the forearm | Over the wrist joint, along the forearm extensors | Moderate (25–35%) |
| 3. Active end | Mid-forearm | Zero |
| 4. Second strip (volar) | Palm side of hand, up the flexor side of the forearm | Moderate |
Tennis Elbow (Lateral Epicondylitis)
| Step | Placement | Tension |
|---|---|---|
| 1. Anchor | Back of hand / knuckles | Zero |
| 2. Strip up the extensor forearm | Along the wrist extensors toward the lateral epicondyle | Moderate (30–40%) |
| 3. Active end | Outer elbow (lateral epicondyle area) | Zero |
| 4. Cross strip over epicondyle | Short horizontal strip directly over the pain point | Strong (50%) |
Goal: reduce traction on the extensor origin at the lateral epicondyle and offload the common extensor tendon during gripping activities.
Hamstring and Calf Applications
Hamstring Strain
| Step | Placement | Tension |
|---|---|---|
| 1. Anchor | Ischial tuberosity (sitting bone — upper back thigh) | Zero |
| 2. Strip down the hamstring | Along the hamstring belly to the back of the knee | Light (15–20%) |
| 3. Active end | Back of knee (popliteal fossa) | Zero |
Goal: reduce muscle tension in the healing hamstring and provide proprioceptive awareness of the area to prevent re-injury. Light tension is critical — hamstrings are powerful muscles and over-taping creates restriction.
Calf Strain / Gastrocnemius
| Step | Placement | Tension |
|---|---|---|
| 1. Anchor | Back of heel / Achilles | Zero |
| 2. Y-strip up the calf | Two tails splitting around the gastrocnemius muscle belly | Light (15–20%) |
| 3. Active end | Back of knee | Zero |
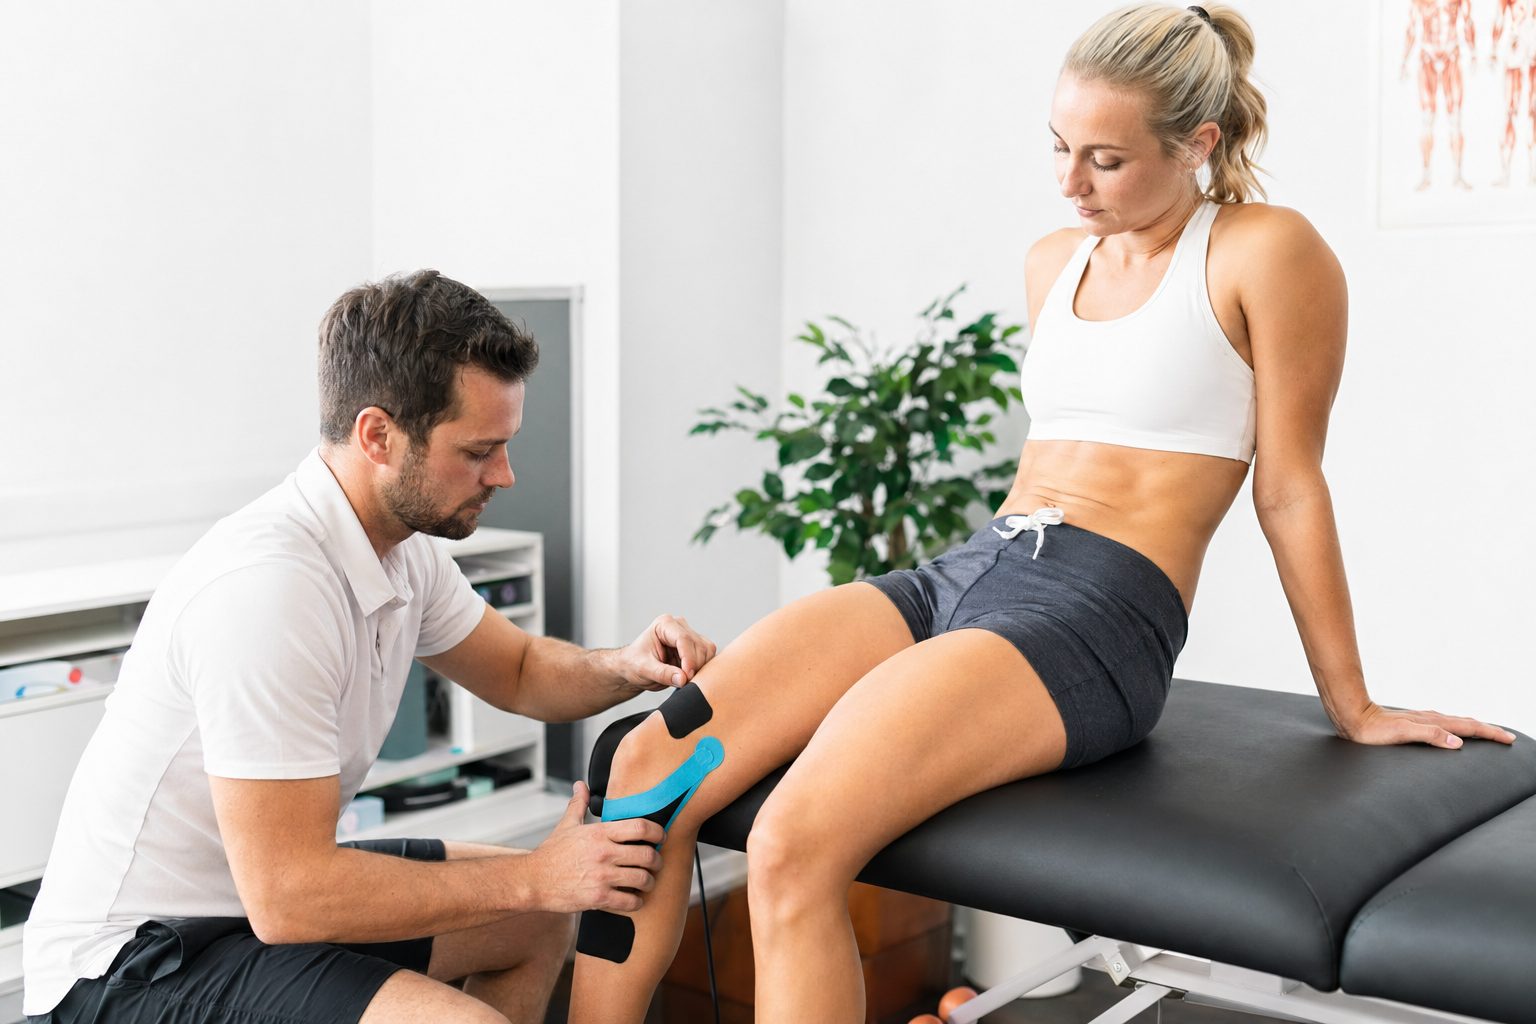
General KT Tape Application Rules
- Always apply with zero tension at both ends (anchors and active ends) — the tape edges should always be relaxed
- Never stretch tape on already-stretched skin — if the area is stretched during application, the tape will over-tension at rest
- Apply 30+ minutes before activity — adhesive needs time to bond fully, especially in humid conditions
- Round the corners of all strips before applying — square corners peel first
- Remove slowly with water — never rip KT tape off dry; wet it in the shower and peel toward hair growth
- Tape lasts 3–5 days on average — replace when edges start lifting or after swimming/heavy sweat sessions
Which TapeGeeks tape should you choose for these applications?
Use the application chart to choose the placement. Use the job you are taping for to choose the tape format.
- Everyday home taping: start with Shop All Kinesiology Tape so you can cut I, Y, X, and fan strips from one roll.
- Fast repeat applications: use Precut K Tape when you want clean rounded strips without measuring each piece.
- Clinics, teams, and frequent tapers: choose the Bulk Kinesiology Tape Roll to cut larger volumes and custom shapes.
- Runners and active people: pair taping notes with RunMate Pro so pain patterns, shoes, and training load do not get guessed from memory.
If skin is irritated, broken, or still reacting from a previous tape job, wait before reapplying. Better placement and lower tension beat more tape.