


Kinesiology tape for scars works by gently lifting the skin, reducing tension on scar tissue, improving fluid circulation underneath, and encouraging collagen to remodel in a more organized pattern. TapeGeeks kinesiology tape can be applied to both fresh post-surgical scars and older scars still undergoing collagen remodeling — making it one of the few non-invasive scar treatments that works at any stage of healing.
Yes — kinesiology tape can reduce scar height, width, redness, and stiffness. A 2025 clinical study (PMID 40710041) confirmed significant improvements in scar deformability, pigmentation, and perfusion after just 8 weeks of kinesiology taping on hypertrophic and keloid scars, with results confirmed by both the Vancouver Scar Scale and ultrasound measurement.
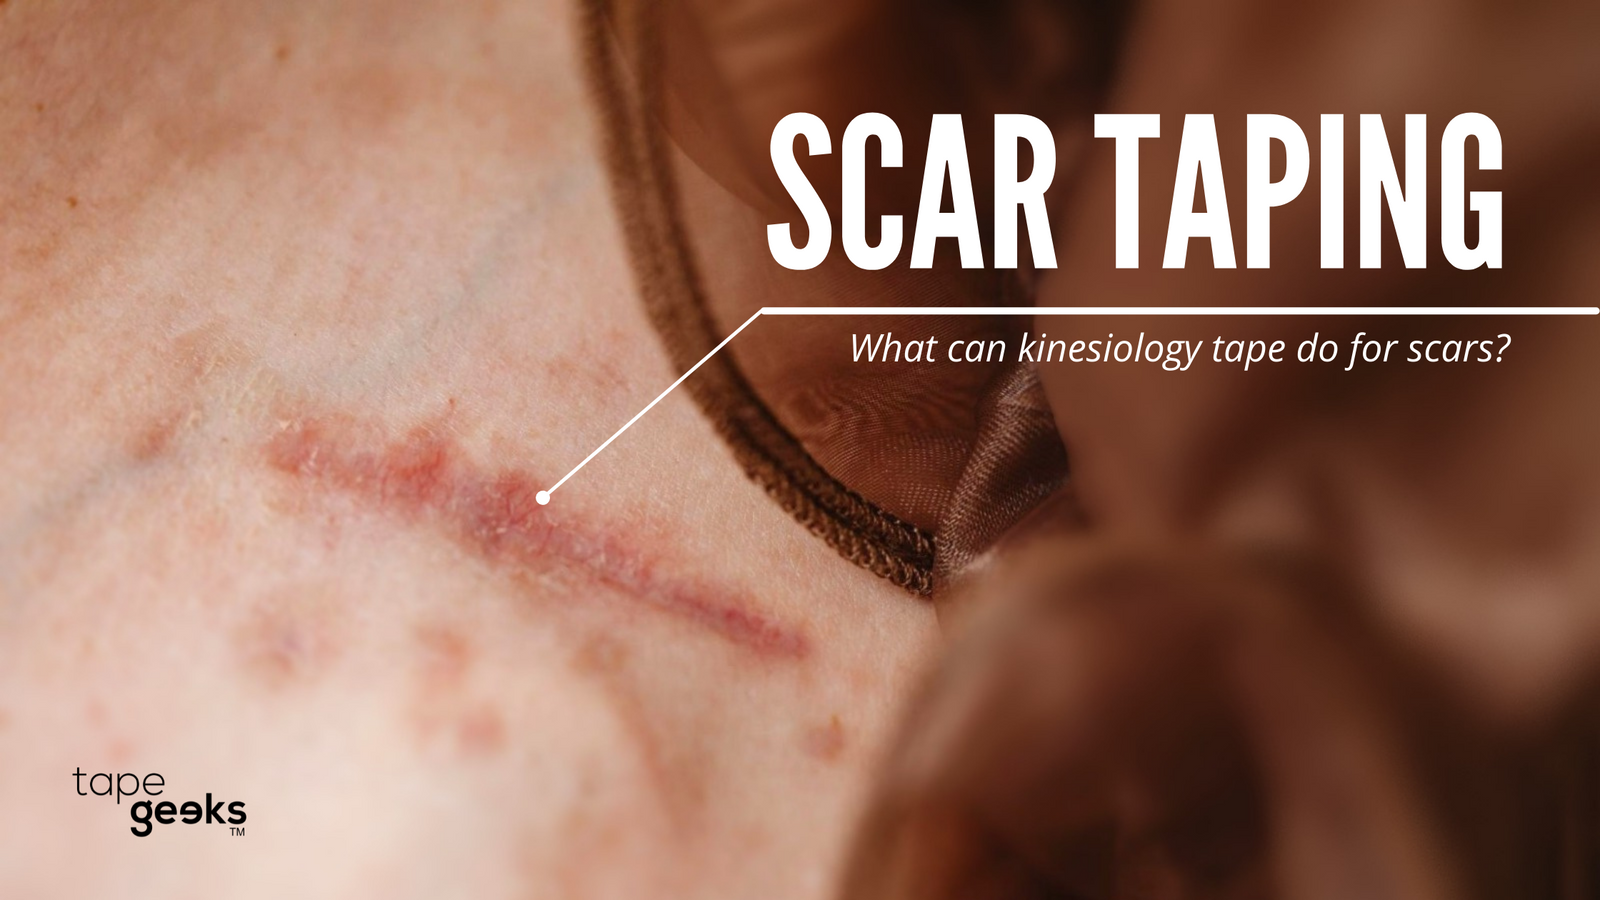
What Is a Scar and Why Does It Form?
A scar forms when the body replaces damaged skin with fibrous connective tissue — primarily collagen — after trauma, surgery, burns, or inflammatory processes. Unlike normal skin, which has collagen fibres arranged in a basket-weave pattern for strength and flexibility, scar tissue has collagen fibres aligned in a single direction. This difference explains why scars feel firmer, tighter, and less pliable than the surrounding skin.
Scars are not all the same. The main types relevant to kinesiology taping are:
- Hypertrophic scars — raised, red, and confined to the boundary of the original wound. Common after surgery and burns. The most responsive to kinesiology tape.
- Keloid scars — raised, often larger than the original wound, and can extend beyond the injury site. More common in people with darker skin tones. Respond well to taping with consistent, long-term application.
- Atrophic scars — depressed or sunken (e.g., acne scars). Less common targets for taping but benefit from improved circulation and tissue mobility.
- Postoperative adhesions — internal or surface-level tethering of scar tissue to deeper structures. Kinesiology tape can help mobilize superficial adhesions and improve tissue glide.
Scar remodeling — the process by which your body gradually reorganizes collagen — can continue for up to 2 years after an injury. TapeGeeks kinesiology tape is most effective when applied during this active remodeling window.
How Does Kinesiology Tape Work on Scars?
The mechanism behind scar taping is primarily mechanical. When TapeGeeks kinesiology tape is applied with minimal stretch over a scar, the elastic recoil of the tape gently lifts the skin away from the underlying tissue. This creates several benefits simultaneously:
1. Decompression of the Scar Bed
Lifting the skin reduces compressive forces on the scar tissue. This decompression decreases the activation of scar-forming fibroblast cells, which are stimulated by mechanical tension. Less tension means less excessive collagen production — the root cause of raised, hard scars.
2. Improved Lymphatic and Vascular Flow
The space created between the skin and scar tissue allows better movement of lymphatic fluid, reducing localized swelling and improving the delivery of healing nutrients. The 2025 clinical study on kinesiology taping for scars (PMID 40710041) specifically identified perfusion (blood flow) as one of the measurably improved parameters after 8 weeks of treatment.
3. Micro-Massage Effect
As you move throughout the day, the tape moves with your skin — creating a continuous micro-massage over the scar. This helps break down adhesions between tissue layers, softens the scar matrix, and stimulates receptor activity that may reduce localized pain and hypersensitivity around the scar.
4. Mechanical Influence on Collagen Remodeling
Fibroblasts — the cells responsible for producing collagen — respond to mechanical signals. By altering the direction and magnitude of mechanical stress on a scar, kinesiology tape may encourage fibroblasts to lay down collagen in a more organized pattern. Over weeks of consistent application, this can reduce scar height, improve pliability, and decrease pigmentation.
What the Research Shows
Clinical evidence for kinesiology tape on scars has been building steadily. Here are the key research findings:
2025 Study — Pediatric Scar Taping (PMID 40710041)
30 pediatric patients (ages 4–10) with keloid, hypertrophic, and postoperative adhesion scars were treated with kinesiology tape for 8 weeks. Results measured by both the Vancouver Scar Scale (VSS) and ultrasound showed:
- Statistically significant reductions in scar deformability, pigmentation, and perfusion for keloid and hypertrophic scars (p < 0.001)
- Ultrasound confirmed significant structural changes across all scar types (p < 0.001)
- Visible improvement in scar appearance observed within 5 days of beginning treatment
Key Clinical Outcomes Measured Across Studies
- Scar height and thickness — consistently reduced with regular taping over 6–12 weeks
- Scar width — evidence of narrowing when tape is applied perpendicular to the scar line
- Pliability / flexibility — improved through decompression and the breaking of superficial adhesions
- Vascularity / redness — reduced with consistent taping, indicating normalization of local blood flow
- Pain and hypersensitivity — reduced through sensory modulation at the skin level
Because kinesiology tape is non-invasive, drug-free, and can be worn 24 hours a day for 3–5 days at a stretch, it integrates naturally into any scar management routine alongside silicone sheeting, massage, or physiotherapy.
Types of Scars That Respond Best to Kinesiology Tape
TapeGeeks kinesiology tape has been used effectively on several scar categories, but certain types show the strongest clinical response:
Surgical Scars
Post-surgical scars — from caesarean sections, joint replacements, appendectomies, or cosmetic procedures — are among the most common targets for kinesiology taping. Taping can begin once the wound is fully closed (no open skin) and the incision site is dry. This typically means 2–4 weeks post-surgery, though always confirm with your surgeon first.
Hypertrophic Scars
Raised, red, firm scars that stay within the boundaries of the original injury. These respond particularly well to kinesiology tape because the decompression effect directly counters the excess collagen accumulation that causes their raised appearance. The 2025 study cited above found the most significant VSS improvements in the hypertrophic scar group.
Keloid Scars
Keloids extend beyond the original wound boundary and tend to be more stubborn than hypertrophic scars. Kinesiology tape alone may not fully resolve a keloid, but consistent 8+ week protocols show measurable improvements in pigmentation and perfusion, which reduce redness and improve the texture of the scar surface.
Burn Scars
Burn scars, especially those that cause skin tightening and contracture, benefit from the decompression and micro-massage effects of kinesiology tape. Application is typically done in conjunction with compression garments and physiotherapy under clinical supervision.
Traumatic Scars (Cuts, Lacerations, Abrasions)
Everyday scars from cuts, wounds, or deep abrasions are ideal candidates for kinesiology taping once the skin is fully healed. Early intervention during the proliferative phase (weeks 2–6) typically produces the best outcomes by influencing collagen organization before it fully matures.
How to Apply TapeGeeks Kinesiology Tape for Scars
The application technique for scar taping differs from standard sports taping. There is no therapeutic tension — the tape should be applied with zero to minimal stretch to maximize the skin-lifting effect.
Step-by-Step Application
- Clean and dry the skin. Remove any lotions, oils, or moisture from the scar area. TapeGeeks tape bonds best to clean, dry skin.
- Cut the tape. For linear scars, cut strips that extend 2–3 cm beyond each end of the scar. Round the corners of the tape to prevent early peeling.
- Apply with zero tension (0%). Peel the backing from the center of the strip. Place the center of the tape directly over the scar with no stretch. Lay the ends down flat without tension.
- Apply perpendicular and parallel strips. For best results, apply one strip along the length of the scar and one or two strips crossing perpendicular to it. This creates multi-directional lifting and improves scar pliability in all planes.
- Rub to activate. Gently rub over the tape for 10–15 seconds to activate the heat-sensitive adhesive.
- Wear for 3–5 days. TapeGeeks kinesiology tape is water-resistant and can be worn during showering. Remove gently and reapply after a rest day.
How Long Before You See Results?
The 2025 clinical study noted visible improvement within 5 days of beginning treatment in some patients. However, clinically significant changes in scar deformability and pigmentation require a consistent 6–12 week protocol with regular reapplication. The longer the scar has been present (up to 2 years), the longer consistent taping will be needed to produce noticeable results.
When Not to Use Kinesiology Tape on Scars
Kinesiology tape is safe for most healed scars, but there are situations where you should not apply tape:
- Open wounds or unhealed incisions — never apply tape to broken skin, weeping wounds, or recently sutured incisions
- Active skin infections — tape can trap bacteria and worsen infection
- Known tape allergy or sensitive skin — perform a 24-hour patch test on a small area first
- Fragile or very thin skin — such as in elderly patients or those on long-term corticosteroid therapy
- Radiation-treated skin — skin that has received radiation therapy may be too fragile for tape adhesive
If you are recovering from surgery, always get clearance from your surgeon before beginning any scar taping protocol.
Kinesiology Tape vs. Silicone Sheeting for Scars
Silicone gel sheets are the gold standard in scar management and work primarily by hydrating the stratum corneum (the outer layer of the scar) to reduce water loss and soften the tissue. Kinesiology tape works differently — it addresses mechanical tension, fluid dynamics, and sensory input. The two approaches are often used together in clinical scar management programs, with silicone applied during periods when tape is not worn.
| Feature | TapeGeeks Kinesiology Tape | Silicone Sheeting |
|---|---|---|
| Mechanism | Mechanical decompression + micro-massage | Hydration + occlusion |
| Activity-friendly | Yes — stays on during exercise and showering | Limited — can move during activity |
| Best for | Hypertrophic, keloid, postoperative adhesions | All scar types, especially flat scars |
| Wear duration | 3–5 days per application | 12+ hours/day, reusable for weeks |
| Pain relief | Yes — sensory modulation effect | Limited |