


Are you an avid basketball fan? If you play ball, it’s good to know the most common injuries that you may become prone to. Plus, learn a kinesiology taping technique that you can use for each injury.
[cta-kin-tape]
Local Mississauga basketball note: If ankle, knee, shin, or foot pain keeps coming back after games, a local sports physiotherapy, chiropractic, athletic therapy, or sports medicine assessment can help you sort out what is driving it. You can find a basketball injury clinic in Mississauga and compare nearby clinic options before booking.
What are common basketball injuries?
- Ankle sprains. When basketball players experience an ankle sprain, it usually happens after landing badly after a jump or when twisting an ankle. This injury can cause pain, swelling, and inflammation while reducing your sense of stability.
- Plantar Fasciitis. Plantar fasciitis happens when the plantar fascia becomes irritated and inflamed. The plantar fascia is the band of connective tissue that runs along the sole’s foot. Basketball players including Pau Gasol, Marcus Camby, and Joe Johnson have experienced this injury.
- Shin Splints. Shin splints happen when the connective tissue in the shinbone has micro-tearing and inflammation. A popular basketball player who experienced this injury includes Justin Anderson.
- Hamstring strain. Caused by overuse or strain, hamstring strain happens when you do not warm up and stretch before playing.
- Achilles Tendonitis. Popular basketball players who sustained this type of injury include Klay Thompson, Kevin Durant, and Kobe Bryant. Achilles tendonitis happens when the Achilles tendon becomes inflamed. In some severe cases, the tendon can become completely torn.
[cta-bundles]
How do you apply kinesiology tape for these common basketball injuries?
If you have any of these basketball injuries, kinesiology tape can help you alleviate some of the discomforts that you feel. Taping may also help in giving support to the area and aid recovery without limiting movement.
If you want to know what to prepare before tape application, here are some kinesiology taping tips for you!
Ankle Sprain
- Measure enough tape from Peroneus Brevis to the Peroneus Longus. Measure out the tape for when you’ll be creating a Y-cut further on.
- Split the tape vertically to create your Y-cut. Round your tape ends.
- Make one of the Y-cuts tail/ end shorter.
- Anchor your tape without any tension. Rub the tape to activate the adhesive. Next, give the middle of the tape 25% tension. For taping the Peroneus Brevis, take the shorter tail of the Y-strip and give it 25% tension when applying. Do NOT apply tension to the tape end.
- Then, take the long tail of the Y-strip to take for the Peroneus Longus. With 25% tension, bring it around the ankle. Again, make sure to apply no tension to the tape end.
- Rub the tape to activate the adhesive.
Plantar Fasciitis
- Prepare three pieces of tape. If you have pre-cut ones - it will be great for these.
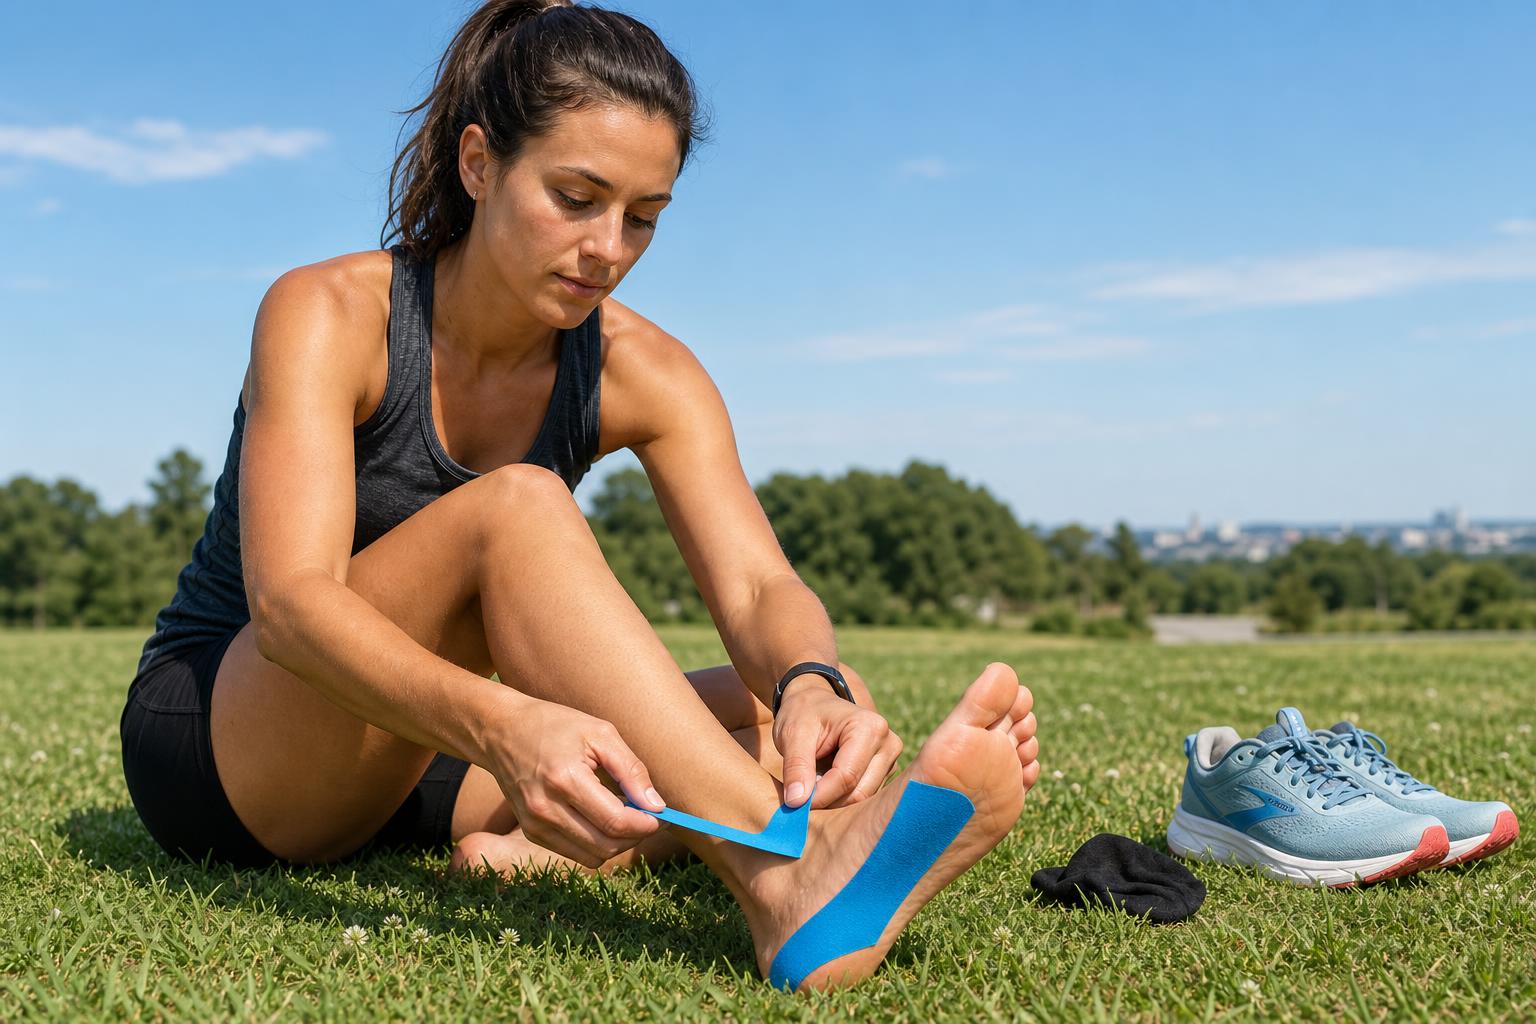
- Start by flexing your foot by pointing your toes up. With the first strip, anchor it to the ball of your foot. Give the rest of the tape 50% stretch. Apply the tape along the bottom of the foot up until the back of the heel.
- Next, anchor the second strip above the inside of the ankle. Give the middle of the strip a 50% stretch and apply it to the bottom of the heel.
- Then, anchor the third strip behind the first strip and apply a 50% stretch to the rest of the tape. Apply across the arch and lay the end of the tape with 0% stretch.
Shin Splints
- Measure and cut your tape spanning your shin area.
- Anchor the tape below the pain point and apply 0% tension.
- Next, give the rest of the tape 50% tension before applying it to the area of discomfort.
- Then, cut two more short strips. Get one strip and apply the tape with 80% stretch just above the area of discomfort. Make sure to apply 0% tension on the ends.
- Get the second short strip and apply it with 80% tension just below the first strip.
- Rub in the tape to activate the adhesive.
Hamstring Strain
- Have your patient in a standing position with the heel pushed firmly into the ground. This is to create a stretch and lengthen the hamstring.
- Measure and cut two short I-strip and a long I-strip. Round your edges.
- Using the long strip, anchor the tape above the area of pain. Next, apply a bit of stretch before applying the rest of the kin tape.
- Then, get the short I-strip, apply 100% tension, and place it diagonally across the area of pain.
- Get the last strip and repeat step 4 in the opposite direction. It should form an X.
- Rub in the tape to activate the adhesive.
Achilles Tendonitis
- Start by measuring and cutting your Y-strip that’s roughly two feet long. Next, create an I-strip.
- Anchor your Y-strip to the bottom of the heel. Then, apply 25-50% tension to the tails of the Y-strip and apply it on either side of the gastroc.
- Take your I-strip and apply 25% tension, Place it above the Achilles tendon.
- Make sure to always round your edges to avoid premature peeling. Rub in the tape for maximum adhesion.
[cta-all]
Buy skin-friendly Tape Geeks tapes for basketball injuries
When you’re using kinesiology tape to aid basketball injuries, it’s essential to consider the quality of the kin tape. This is for the sake of your skin!
Taping is not just about muscle and joint support! It should also be protecting your skin from unwanted rashes and allergies. Make sure you protect your skin by avoiding low-quality adhesives!
This is what Tape Geeks is all about! Enjoy a great stick without making your skin sick with Tape Geeks kinesiology tape.
Get the best deals for Tape Geeks' products by visiting our Amazon store today!
Conclusion
We hope that you learned a little more about the common injuries that may occur when playing basketball. Moreover, it’s necessary to warm up and stretch before engaging in any physical activity to lessen the risk of injury.
If you want to learn other kinesiology taping techniques, check out theTape Geeks blog.
Thanks for reading!
[cta-more]
[cta-email]