


Don’t get us wrong, working from home has its benefits: It's flexible, it allows for creativity, and it gives us time to spend with our families. But if you don’t have the optimal work-from-home setup that promotes proper posture, it can also lead to several body aches and pains.
[cta-kin-tape]
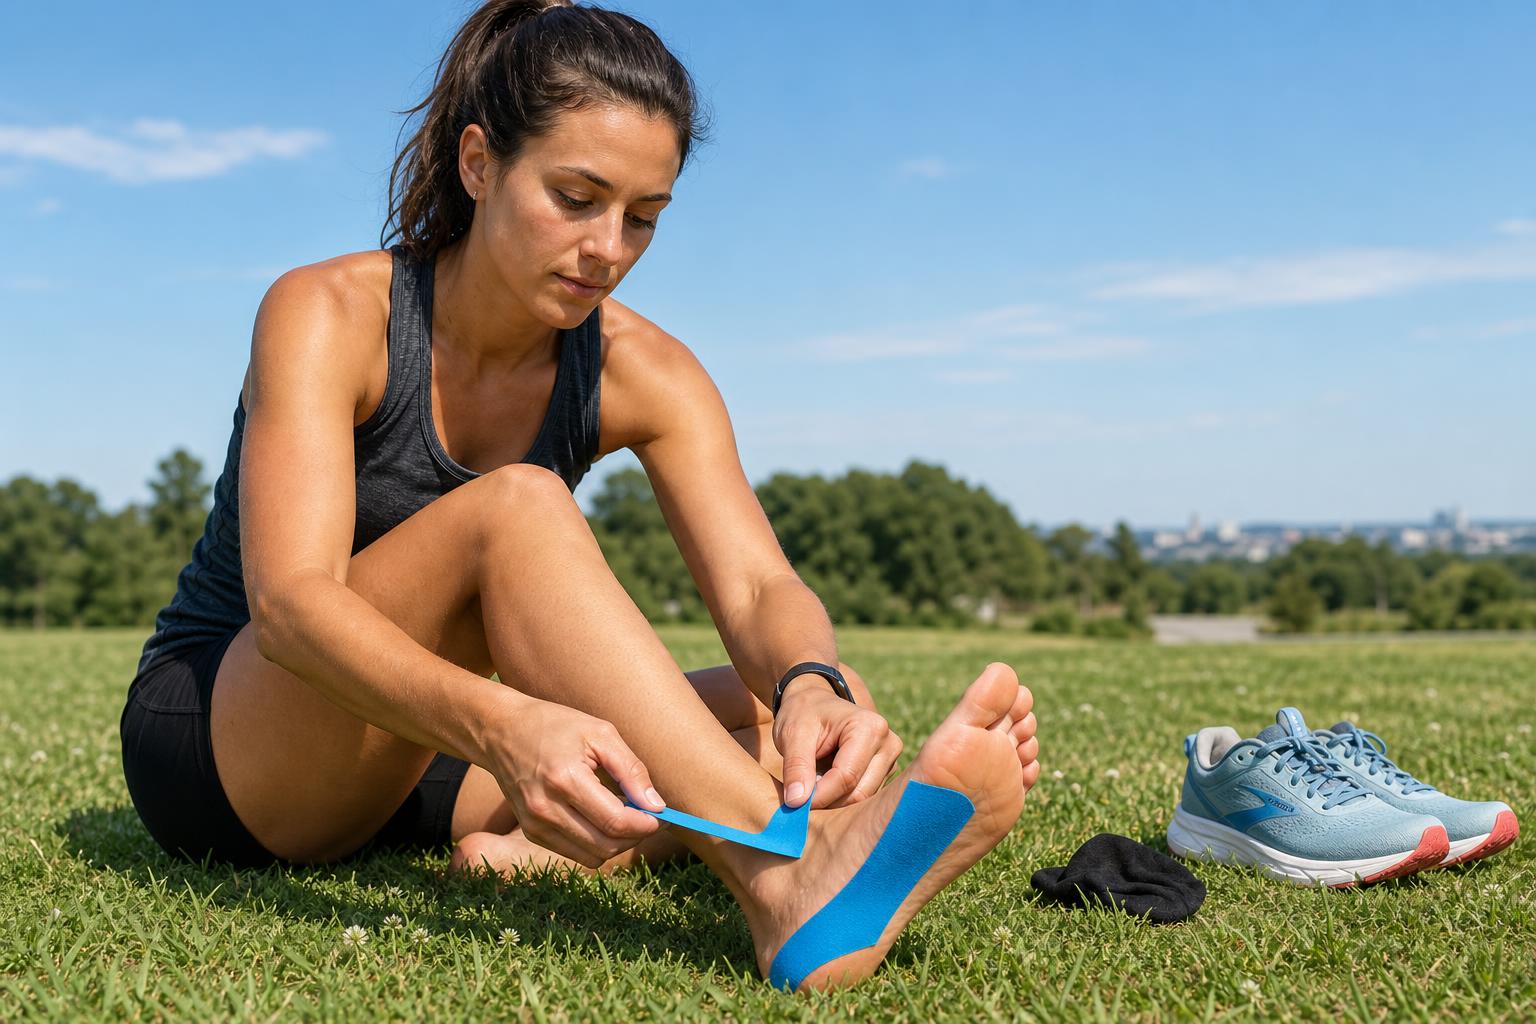
In this blog post, we'll discuss what kinesiology taping is and how it can help people who slouch over their computers all day stay ache-free. We’ll also talk about ways of optimizing your workspace to avoid developing body pain in the first place.
Table of Contents
Common aches and how to apply kin tape to it

First of all, let's make it clearer why some areas of your body may become painful after long periods of immobility: lack of blood circulation due to reduced muscular activity results in decreased return flow from veins into the heart.
With the increased pressure, lymphatic drainage is reduced which means tissues don't receive nutrients anymore and start decaying. As a consequence muscle aches develop for different areas of the body.
In this section, learn the different taping protocols that you can try to help with some of the soreness that you experience due to working from home.
If you’re new to kinesiology taping, you might want to check out our article to answer some of the questions that you might have before starting.
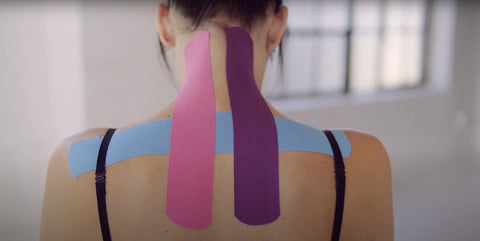
Back Taping
Kinesiology taping is a method that helps improve your posture by providing support to the muscles around the spine. This reduces pain in this area and encourages proper sitting or standing positions.
Lower Back Kinesiology Taping

- Have the person in a comfortable position with a slight forward lean.
- Measure a compression strip to span the area of complaint.
- Measure a security strip starting from the top of the hip to span the area of complaint.
- Measure a second security strip to match the first.
- With 50% tension, apply your compression strip to span the area of complaint.
- Apply the first security strip with 0% tension running from the top of the hip to span the area of complaint.
- Apply the second security strip with 0% tension to match the first.
- Rub in the tape to activate the adhesive.
Full Back Kinesiology Taping

- Have the person in a comfortable position with a slight forward lean.
- Measure the first compression strip in the primary area of complaint and a second compression strip in the secondary area of complaint.
- Measure the first security strip starting at the top of the hip to span the entire back and a second security strip to match the first.
- Round the tape ends.
- Apply the compression strip with 50% tension along the primary area of complaint.
- Apply the second compression strip in the second area of complaint with 50% tension.
- Apply the first security strip with 0% tension, start at the top of the hip and have the tape span the entire back.
- Apply the second security strip with 0% tension spanning from the top of the hip to run the entire length of the back.
- Rub in the tape to activate the adhesive.
[cta-bundles]
Neck Taping
If you don’t have a great setup for work at home, there’s a good chance that you’ll develop neck pain after prolonged periods of sitting down, especially if your body isn’t maintaining a good posture.
Are you experiencing neck pain right now? Try out our taping protocol below and tell us what you think!
Unilateral Neck Kinesiology Taping

- Start with the person in a seated position with the head and neck turned towards the opposite shoulder.
- Measure a compression strip spanning the area of complaint.
- Measure the security strip starting at the base of the skull to finish in the mid-back.
- Round the tape ends.
- Apply the compression strip ideally with 50% tension spanning the area of complaint.
- Apply the security strip starting at the base of the skull to finish in the mid-back. It should be applied with 0% tension.
- Rub in the tape to activate the adhesive.
Bilateral Neck taping
- Have the person in a comfortable seated position.
- Measure a compression strip to span the area of complaint.
- Measure the first security strip from the base of the skull towards the mid-back and a second security strip to match the first.
- Have the person bring his/her chin towards the chest.
- Apply the first compression strip expanding the area of complaint with 50% tension.
- Apply the first security strip starting at the base of the skull to finish in the mid-back. This should be applied with 0% tension.
- Apply the first security strip to match the first starting at the base of the skull to finish in the mid-back with 0% tension.
- Rub in the tape to activate the adhesive.
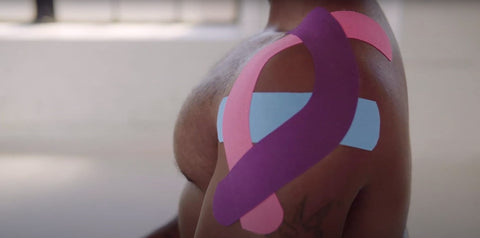
Shoulder Taping
Shoulder impingement is a common ailment among people who spend long hours at their computer typing or holding their mouse. The problem is that this puts pressure on the shoulder, which leads to pinching in the rotator cuff.
Kinesiology tape can be used to reduce this pain by adding support and increasing circulation in the area.
Shoulder Kinesiology Taping
- Place the shoulder in a neutral position. Measure a compression strip spanning the width of the shoulder.
- Measure the first security strip running along the front edge of the deltoid muscle.
- Measure a second security strip running along the back edge of the deltoid muscle.
- Round the tape ends.
- Apply the compression strip spanning the width of the shoulder with 50% tension.
- Apply the first security strip with 0% tension running along the front edge of the deltoid muscle to finish in the neck.
- Apply the second security strip with 0% tension spanning along the backside of the deltoid muscle to finish in the upper neck.
- Rub in the tape to activate the adhesive.
Wrist Taping
If you have been working from home for a while now and have been feeling pain in your wrists or forearms, here are some steps that you need to take:
Wrist taping

- Have the person in a neutral wrist position while making a fist.
- Measure the first security strip from the outside of the thumb wrapping around the wrist to finish on the front of the forearm.
- Measure the second security strip, running from the inside of the baby finger. Again, wrapping around the wrist to finish on the front of before.
- Round the tape ends.
- Apply the first security strip with 0% tension starting at the thumb and wrapping around the wrist to finish on the front of the forearm.
- Apply the second security strip starting at the inside of the baby finger, wrapping around the wrist to finish on the front of the forearm. Again, with 0% tension.
- Rub in the tape to activate the adhesive.
Start your kinesiology taping journey with Tape Geeks kinesiology tape!
[cta-all]
If you’re a newbie in kinesiology taping, you need to make sure that you pick the right kin tape that’s not just great for your muscles but also friendly to your skin. Bringing high-quality yet skin-friendly kinesiology tape is Tape Geeks!
Avoid skins allergies, irritation, and breakouts with Tape Geeks’ hypoallergenic, latex-free, and zinc-free kin tape! While it sticks on for several days still experience an easy, gum, and hassle-free removal!
Visit the Tape Geeks Amazon shop today to get the best deals for our products!
Ergonomic Work-from-Home Setup to Prevent Aches & Pains
Aside from applying kinesiology tape on your sore spots, making sure that you have an ergonomic workstation can help prevent these aches in the first place.
This video from WSJ gives an excellent demonstration of which tools and areas you can adjust to optimize your workstation.
- Adjust your chair height. Adjust the seat height of your chair so that you can create a 90-degree angle with your elbow when bent. Also, ensure that you keep your feet flat. If your foot doesn’t touch the ground, find a footrest. If you don’t have one, you can substitute it using a stack of books or a box.
- Adjust your monitor distance and height.Place your monitor at arm’s length so as not to strain your eyes when reading. This way you don’t have to bend forward either which tends to affect your posture. The top of the screen should be at your eye level.
- Don’t reach for your tools.Your mouse and keyboards should be placed where your hands end up. Move from your elbow instead of your shoulder to prevent any strain and soreness.
- Get up from your chair every hour.Make sure that you take breaks and move from your chair every hour.
Conclusion
It’s important to take care of your body so it can take care of you. If you are working from home, be sure that the space is set up ergonomically in order to minimize injury and discomfort.
Avoiding work-from-home pain doesn't have to mean abandoning the benefits of telecommuting - not when there's kinesiology tape!
[cta-more]
[cta-email]