


Weight loss, better mood, youthful skin, brain health, and improved memory - having a healthy lifestyle has numerous benefits. But, this isn’t to say that it doesn’t come with its aches and pains.
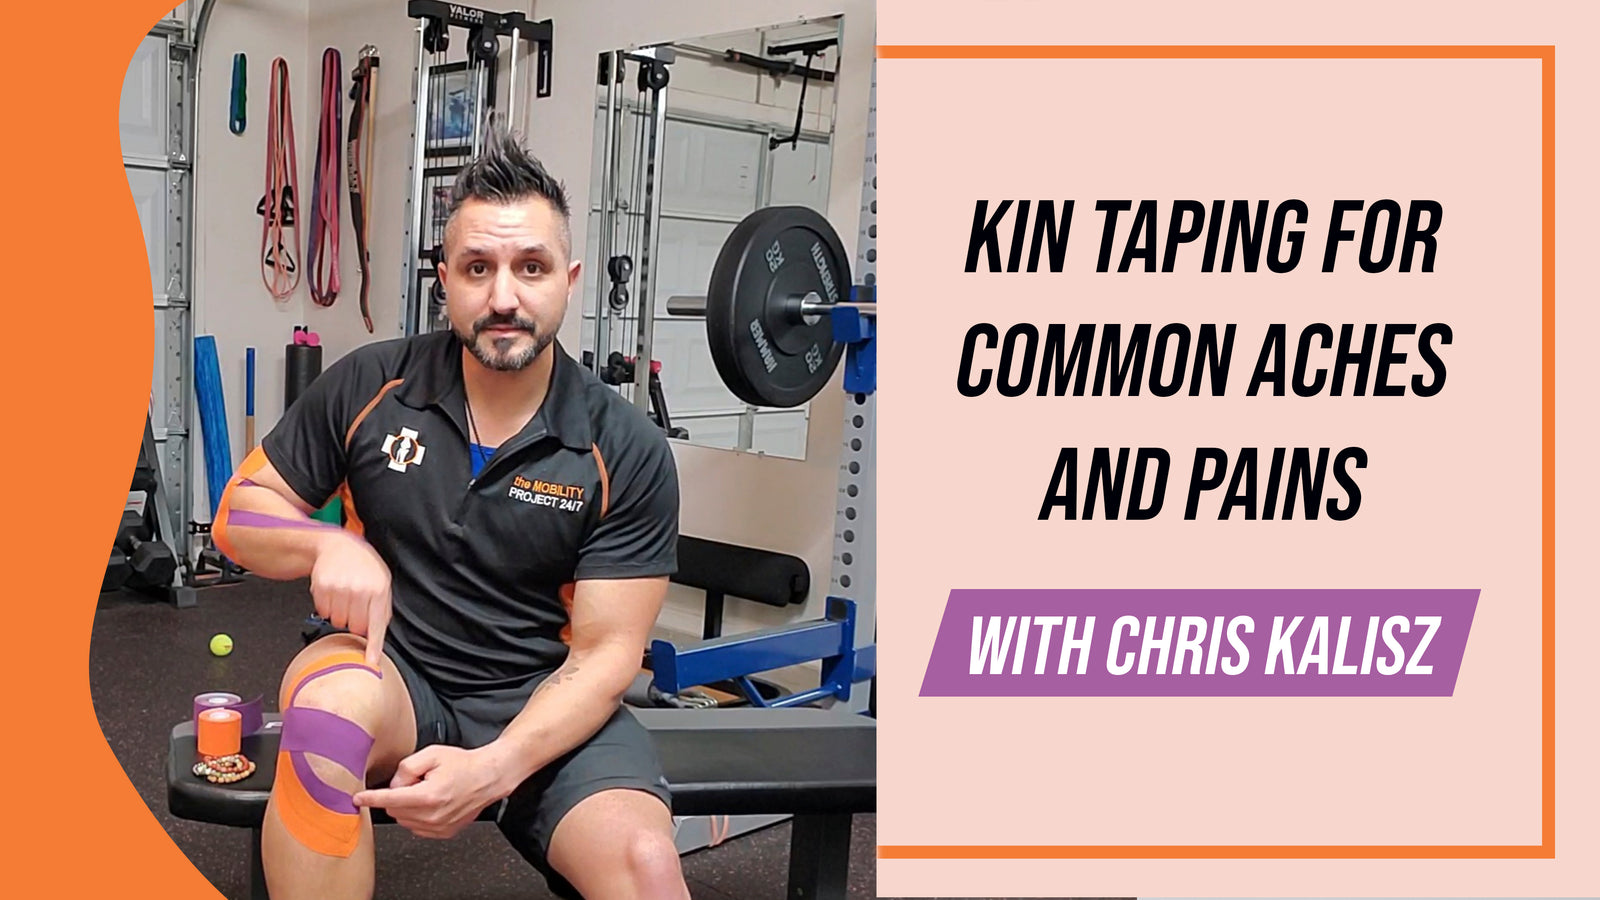
Being both a wrestler and working in the health and fitness arena, Chris Kalisz is a testament to this. As part of the wrestling arena for 12 years and working as a Corrective Exercise/ Movement Therapist and Neuromyofascial Specialist, he has had his fair share of injuries and traumas.
This led him to focus on holistic pain management solutions that include corrective and functional movement mechanics, nervous system and fascial system-based therapies (SRT), and energy/emotional techniques. Kinesiology tape is one of the staple tools in his practice.
In this article, Chris will demonstrate how to apply kinesiology tape some of the most common injuries and pains for people who love to move.

Taping for your Elbow Pain
Tennis elbow or lateral tendonitis is commonly caused by repetitive motions. Some of the most common symptoms include pain felt in the outside of the elbow when lifting, bending your arm, and even when gripping something small.
Learn the different techniques in applying kinesiology tape for lateral tendonitis or tennis elbow by watching the videos below.
Tennis Elbow Relief Taping Protocol
In this video, Chris shows you a quick and simple taping technique to provide stability and relieve tension for your tennis elbow.
- Measure out the tape and cut at the length that you need. Round your tape edges and create an I-strip.
- Peel off the tape from the paper backing starting with your anchor piece. Next, bring your arm to a 90-degree angle. Anchor your tape on the lateral part of your bicep, 1 ½ to 2 inches above the elbow with 0% tension.
- Peel the rest of the tape and run it down across the lateral component where you feel pain. Rub the tape in to activate the adhesive.
- Take another I-strip. Round your edges again.
- While holding your hand still at a 90-degree angle, peel the tape backing off the tape. Anchor it 4 to 5 inches away from your elbow.
- Peel the rest of the tape backing off and add a 50% tension. Wrap the tape around towards the back of the tricep. Rub the tape in.
Tennis Elbow/ Lateral Elbow Tendinitis Taping Protocol
In this video, Chris demonstrates another way of applying kin tape for lateral tendonitis. Utilizing Y and I strips, learn how to alleviate tension or tensile pull.
- Measure and cut your tape and create a Y-strip. *If you’re new to taping and don’t know what a Y-stip is, you can check out our kin taping article to catch up with the basics.
- Peel off the paper backing for your anchor. Locate the outside of your thumb.
- Before applying the kin tape, flex your hand down.
- Anchor the tape from the base of your thumb. For one of the tape ends, peel off the rest of the paper backing. Then, apply 65-75% tension to the kin tape and apply. Then, do the same for the next end. Rub the tape in.
- Then, get another I-strip. Peel the tape backing off the anchor and put it right over the elbow. For the rest of the tape, pull the tape and make sure it covers the source of your pain.
- Rub in the tape.
Tennis Elbow/ Elbow Tendonitis Taping Protocol
Learn how to alleviate the chronic pull that may be causing your tennis elbow with this kinesiology taping protocol.
- Measure, cut, and create an I-strip with your kin tape.
- With the affected arm, point your thumb towards the ground. At the thumb’s base, anchor the tape. Rub it in,
- Then, peel off the rest of the paper backing. Put a 40-50% tension to the tape. Run the strip towards the area where you feel pain.
- If you want to take this protocol further, take a second strip and anchor it next to the first strip.
- Flex your hand downwards and straighten your arm. Lay the rest of the second strip by following the outside edge of the first strip.
- Rub your tape in.
Golfer's Elbow/ Medial Tendinitis Taping Protocol
Learn how to tape for medial tendinitis or golfer’s elbow with this video. With the use of Y and I strips, alleviate discomfort without experiencing too much tension.
*What the Y strip does is taping the tension from one solid strip and dispersing it 50-50. If you need more tension, you can use a solid I-strip.
- Measure your tape spanning from the base of your wrist (under your pinky) down to the body prominence where you feel the tendonitis. Cut the strip, and create a Y-strip. Round your edges.
- Peel off the backing of the anchor and lay your tape down on the inside part of the hand below the pinky while your hand is flexed away from the area. Rub the tape to adhere it to the skin.
- Take one of the strips and lay it down at that bony prominence in your elbow. Take the second strip and do the same thing - almost laying it over the first strip.
- Then, take your I-strip and peel off the anchor. Anchor the strip around near the elbow and pull it over the medial tendon towards the bicep.
- Rub the tape to activate the adhesive.
Kinesiology Taping for Knee Pain
Also referred to as jumper’s knee, patella tendonitis occurs when your patellar tendon is inflamed. One of the common causes of a jumper’s knee is an overuse of the knee joint. Jumping or repetitive movements strain your tendon which causes it to become inflamed.
Patellar Tendonitis Kinesiology Taping for Pain / Technique One
With this taping protocol, learn how to stabilize and get more support when you’re experiencing patellar tendonitis.
- Measure and cut an I-strip. Stretch the strip and anchor it right below the kneecap. Rub in the tape.
- Next, take another I-strip. Peel the backing off the anchor and lay it down on the inside of the shin. Then, for the rest of the tape add 25-50% tension and wrap it across the front of the patellar tendon, over the anchor point, right outside the knee, and coming across to the quad, Rub the tape down.
- Take another strip and repeat the steps in number 2 but the opposite direction.
[cta-scissors]
Kinesiology Taping for AC Joint Sprain
Acromioclavicular joint sprain or AC joint sprain occurs when an injury damages the AC joint. Some of the most common causes of this type of sprain include falling on your shoulders or any impact on your shoulder. Some of the symptoms include pain when lying on your sprained shoulder, reaching for something overhead, or pain when moving your arm across your body.
If you want to know more about this type of sprain, you can also check out our comprehensive AC joint sprain article.
Ktaping for AC joint Pain / Sprain
In this video, Chris demonstrates a basic and simple taping technique for anchoring and support for the AC joint.
- Prepare four I-strips. Get your first one and give it a full stretch and tape it down the AC joint for support. Rub in the tape.
- Next, reach for your second tape and give it a full stretch. Lay it down over the first tape and the deltoid muscle, forming a cross.
- Then, give your third strip a full stretch and layer it across the other two pieces.
- Lastly, get the Y-strip and anchor it right over the first two pieces. Now, take one strip and bring the shoulder back. Run the piece over the front. Then, bring the arm across and run the second piece around the back.
Ktaping for Shoulder Pain and Support
In this video, learn how to tape your shoulder to bring it to a more compressed and stable state.
- Prepare two I-strips and a Y-strip. Anchor the tape on the medial deltoid. Next, using your hand, glide the tissue up before laying down the rest of the tape with a 50% stretch. This helps set the tissue in a more comfortable upward position.
- Then, take a second strip and anchor it at the AC joint. Just like the first step, glide the tissue to where it’s most comfortable before laying the rest of the tape over the medial deltoid.
- Finally, with the third strip, anchor it right over the first two pieces.
[cta-bundles]
Kinesiology Taping for Neck and Trapezius Pain
When you experience trapezius and neck pain, a lot of times you end up with chronic headaches, chronic migraines, chronic neck pain right at the base of the skull where all that tension is pulling. Learn how to alleviate these symptoms by following the taping protocol below.
Easy Neck Pain Fix with Ktape!
In this neck and trapezius taping protocol, learn how to is to pull that tension away and back down.
- Get an I-strip and anchor it on your medial deltoid.
- Next, turn your head away from the area and pull your shoulder blade down.
- Then, run the tape across the trapezius muscle to your neck. Rub the tape to activate the adhesive.
- Get another I-strip and anchor it near the scapula.
- Then, pull your shoulder blade down again. Lay your tape right over your trapezius muscle. Rub the tape to make it adhere to your skin.
Kinesiology Taping for Calf Pain
Useful especially for folks who are always on their feet including runners, weightlifters, hikers, learn how to relieve tension and correct the tissue pulling that you might be experiencing in your calf muscles.
Kin taping for Calf pain
In this video, Chris will demonstrate how to do just that with a simple calf pain taping technique.
- Prepare two I-strips. Taking your first strip, anchor it at the base of your foot. Next, run the rest of the tape over the heel and up the inside of the calf.
- With your second stip, anchor it again on your heel, overlapping the first strip. Make sure that you’re flexing your toe. Run the rest of the tape in the lateral side of your calf.
- Rub in your tape.
Conclusion
While taping knowledge is important, having the right kinesiology tape matters as well. Tape Geeks kinesiology tapes are not only strong but are sensitive to your skin. Make sure that you keep skin irritation and rash at bay as you stay active by using this high-quality tape.
If you want to check out more of Chris Kalisz’s informative guides, you can check out his Youtube channel. You can also send him an email via: chriskaliszcft@gmail.com.
[cta-all]
[cta-email]