


Injuries are an unfortunate part of any sport, but especially so in football.Kinesiology tape helps in addressing many common football injuries. This post will explore some of those injuries and how kinesiology tape can help.
Whether you're a player with these injuries or you're just curious about what kinesiology taping can do for you, read on for some helpful information.

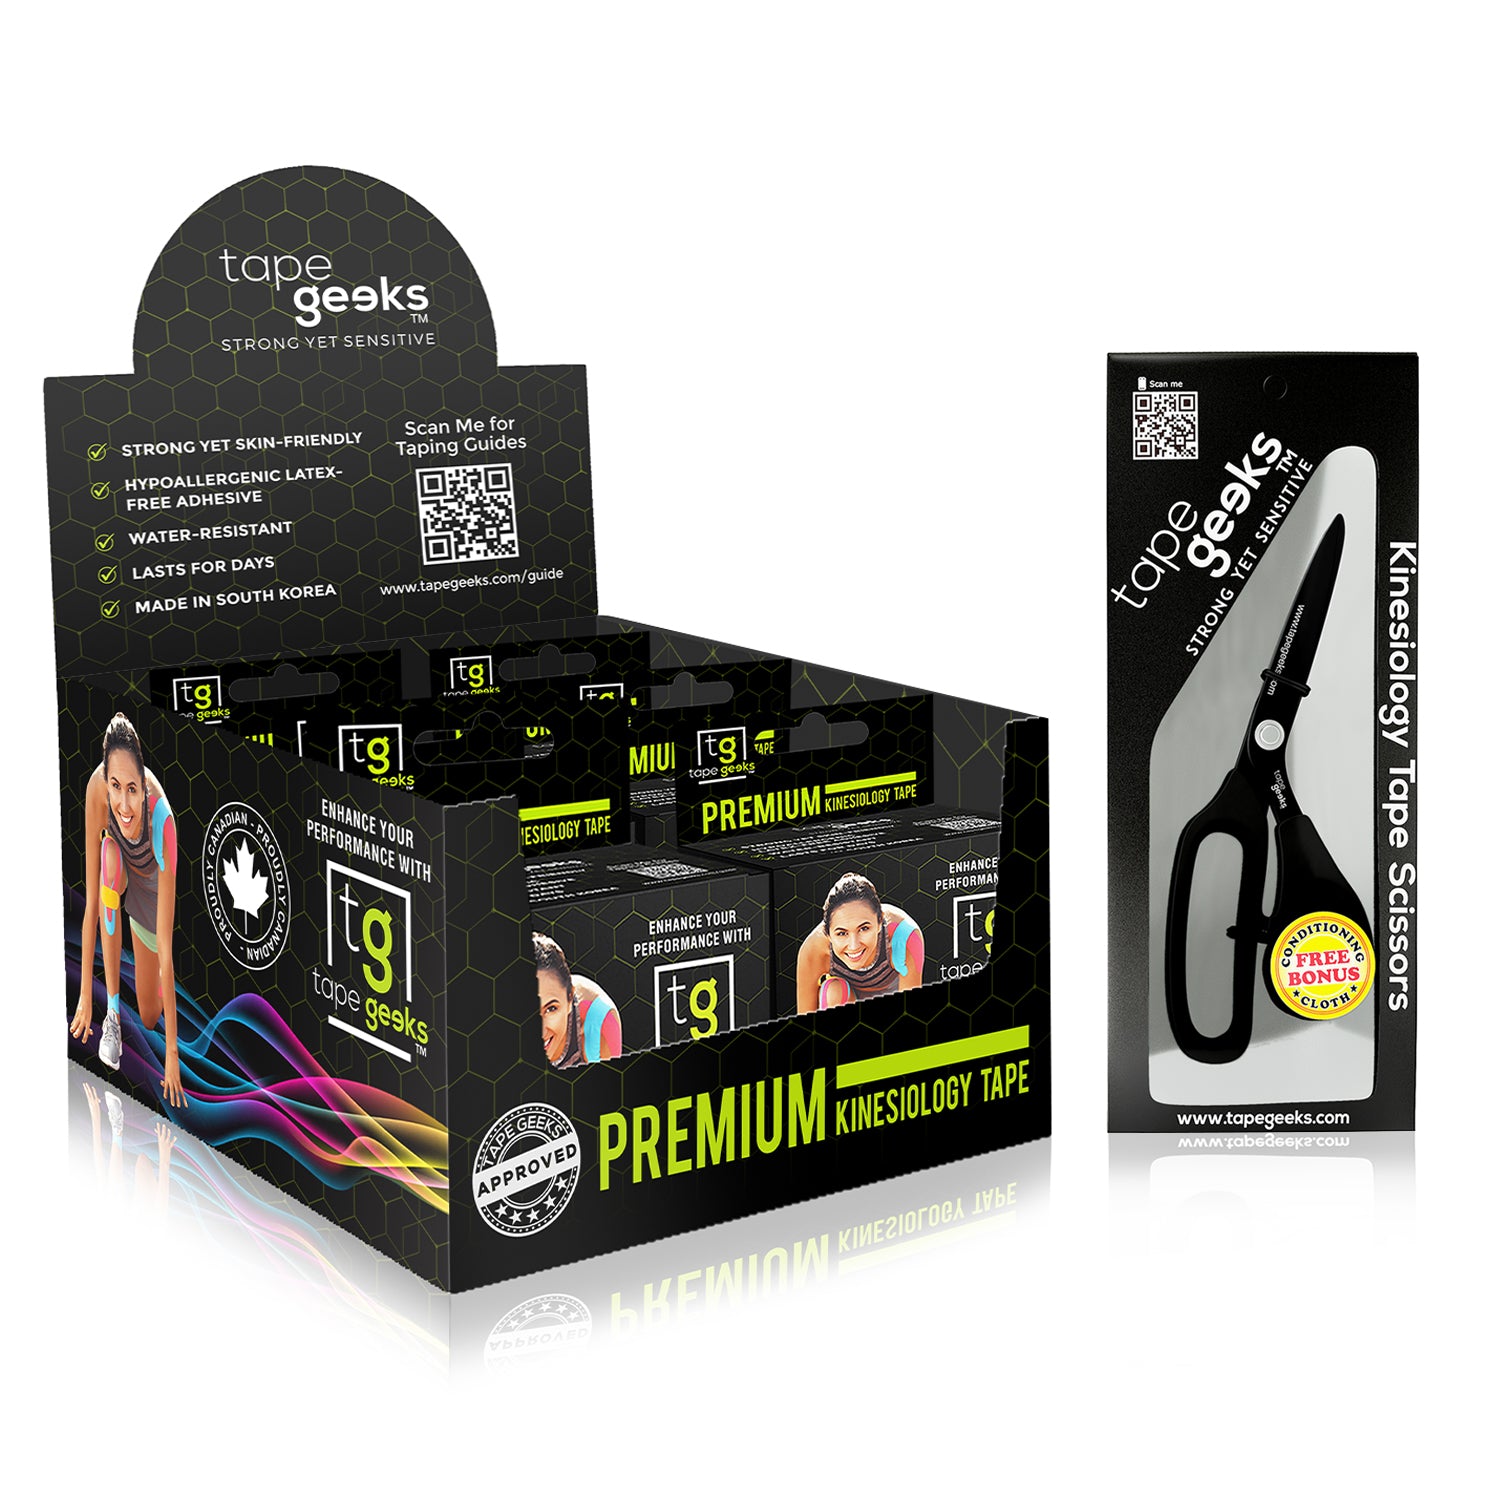
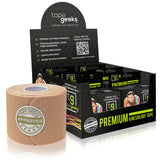
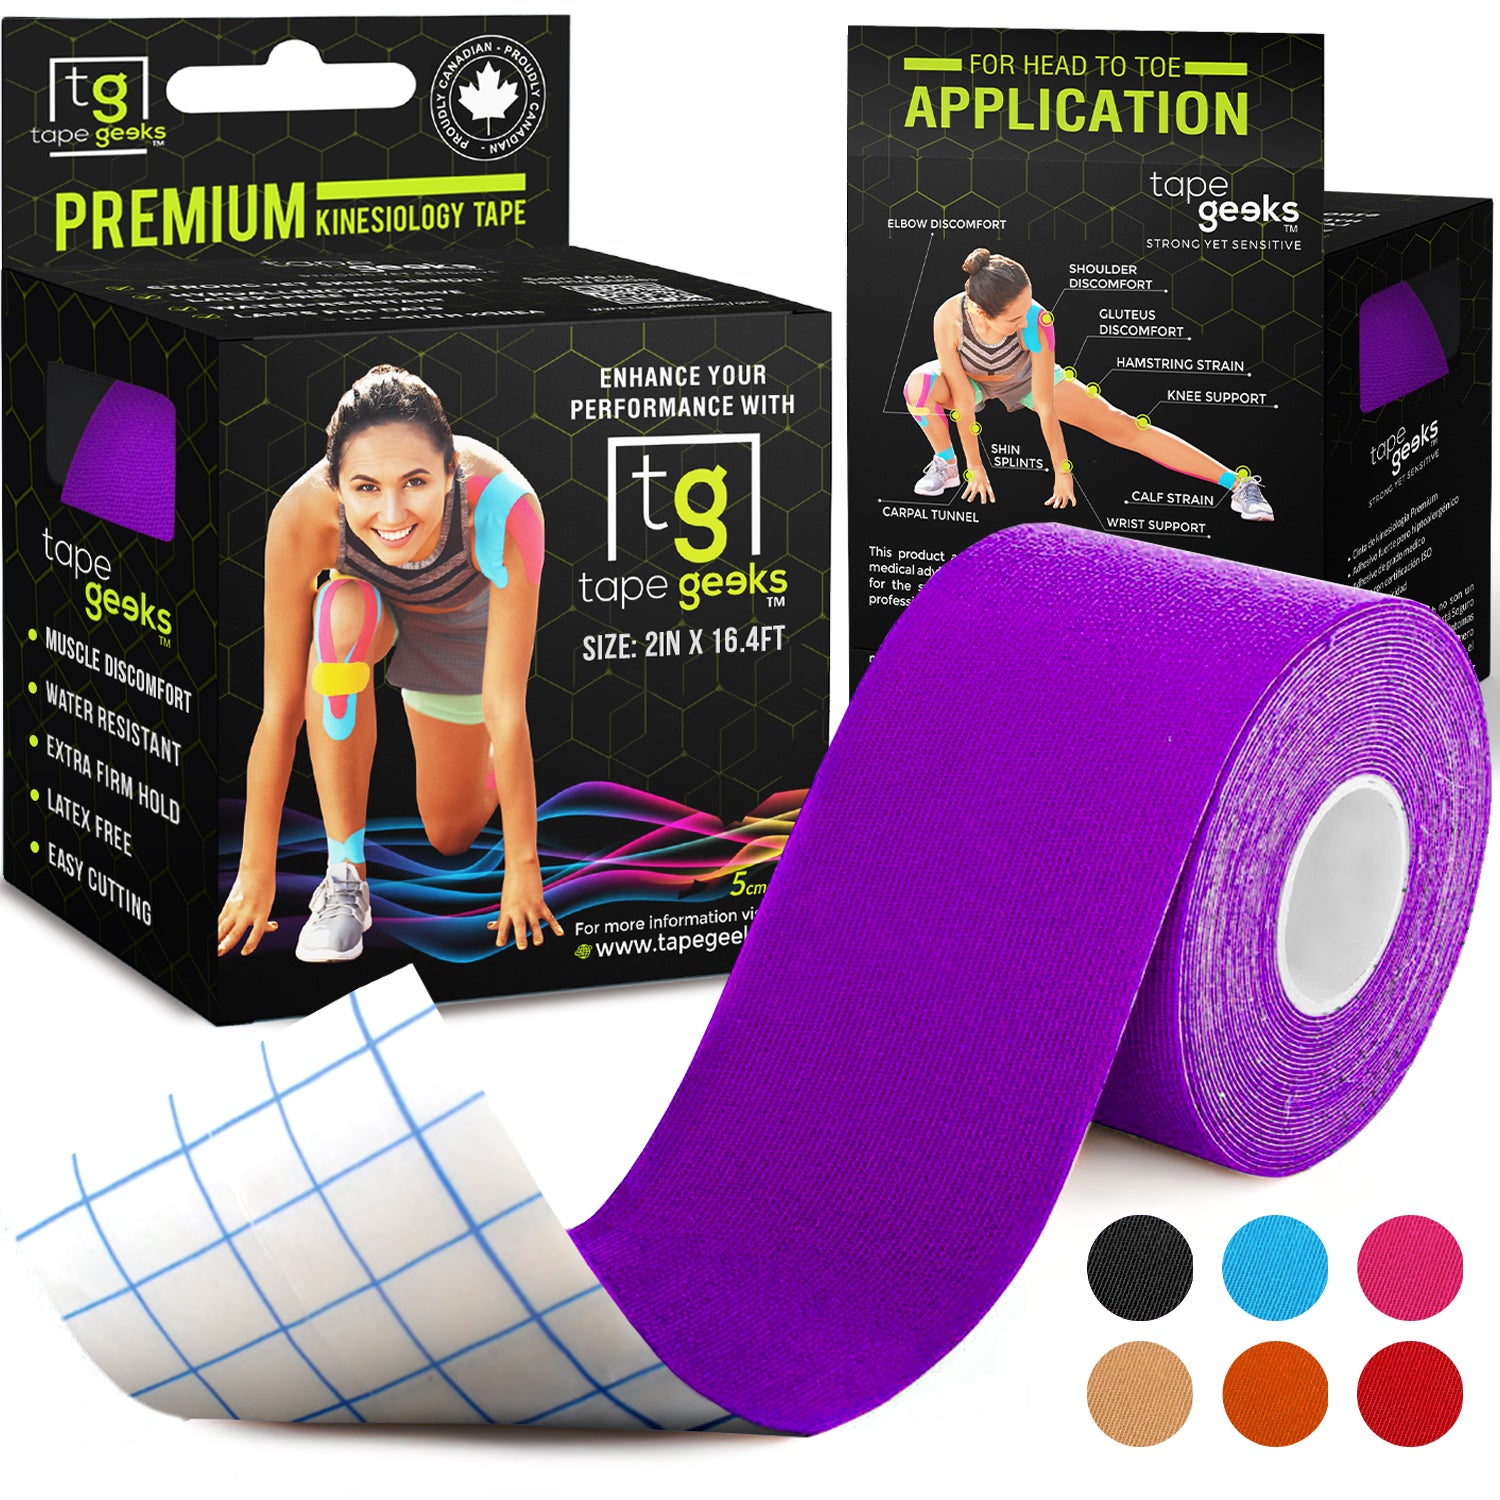
Shop our kinesiology tape now
Shop NowHere are some of the kinesiology taping protocols that you can follow for common football injuries:
Rotator cuff strains
A rotator cuff tear happens when a group of muscles and tendons that hold the shoulder joint becomes strained or even torn. If you have a rotator cuff tear, you may feel weakness and pain in your shoulder.
Achilles tendonitis
The Achilles tendon connects the heel to the back of the leg. Achilles tendonitis happens when the tendon becomes inflamed due to overuse or age-related degeneration.
- Start by measuring and cutting your Y-strip that’s roughly two feet long. Next, create an I-strip.
- Anchor your Y-strip to the bottom of the heel. Then,apply 25-50% tension to the tails of the Y-strip and apply it on either side of the gastroc.
- Take your I-strip and apply 25% tension. Place it above the Achilles tendon.
- Make sure to round your edges to avoid premature peeling. Rub in the tape for maximum adhesion.

Shop our bundles now
Shop Now
Hamstring strains
The hamstring muscles are found and run from the pelvis to behind the knee. A hamstring strain happens when the muscle becomes stretched or torn due to overuse.
- Have your patient in a standing position with the heel pushed firmly into the ground. This is to create a stretch and lengthen the hamstring.
- Measure and cut two short I-strip and a long I-strip. Round your edges.
- Using the long strip, anchor the tape above the area of pain. Next, apply a bit of stretch before applying the rest of the kin tape.
- Then, get the short I-strip, apply 100% tension, and place it diagonally across the area of pain.
- Get the last strip and repeat step 4 in the opposite direction. It should form an X.
- Rub in the tape to activate the adhesive.
Ankle sprain
An ankle sprain occurs when the ligaments that hold your ankle bones together become stretched or torn. This injury can happen when you roll, turn, or twist your ankle in an awkward position.
- Measure enough tape from Peroneus Brevis to the Peroneus Longus. Measure out the tape for when you’ll be creating aY-cut further on.
- Split the tape vertically to create your Y-cut. Round the tape ends.
- Make one of the Y-cut’s tail/ end shorter.
- Anchor your tape without any tension. Rub the tape to activate the adhesive. Next, give the middle of the tape 25% tension. For taping the Peroneus Brevis, take the shorter tail of the Y-strip and give it 25% tension when applying. Do not apply tension to the tape end.
- Then, take the long tail of the Y-strip to take for the Peroneus Longus. With 25% tension, bring it around the ankle. Again, make sure to apply no tension to the tape end.
- Rub the tape to activate the adhesive.
Shin splints
The pain caused by shin splints runs along the inner edge of the shin bone. One of the most common causes of shin splints is overuse from repetitive activities. When the shinbone is repeatedly irritated, it leads to micro-tearing of the muscles.
- Measure and cut your tape spanning your shin area.
- Anchor the tape below the pain point and apply 0% tension.
- Next, give the rest of the tape 50% tension before applying it to the area of discomfort.
- Then, cut two more short strips. Get one strip and apply it with 80% stretch just above the area of discomfort. Make sure to apply 0% tension on the ends.
- Get the second short strip and apply it with 80% tension just below the first strip.

Shop our collection now
Shop Now
Address football injuries with skin-friendly kin tapes by Tape Geeks
When using kinesiology tape, it’s important to pick tapes with high-quality adhesives. Get not only good support but also avoid kin tape rashes and allergies. This is what Tape Geeks is all about!
Enjoy a great stick without making your skin sick with Tape Geeks kinesiology tape! TG tapes are hypoallergenic, zinc-free, and latex-free.
They’re manufactured in an ISO-certified and dermatologist-approved factory in South Korea. It's known for its consistent and reliable adhesives.
Get the best deals for Tape Geeks' kinesiology tape by visiting our Amazon store today!
Conclusion
That’s just a taste of the many football injuries that can be aided with kinesiology tape. If you want to learn more about how to apply the tape for these or other injuries, head over to our blog.
We have posts about all sorts of taping techniques and applications, so you can get back in the game as quickly as possible.
Thanks for reading, and we hope this information was helpful!

Shop our scissors now
Shop Now
Subscribe to the TapeGeeks Newsletter for new videos, discounts and more!Join The Geeks Club